
If you’ve been following this series of posts about building an online course by design, you’ve framed your course, selected your materials, chosen your assignments, and written your syllabus. In a typical F2F course, you’d be making copies of your syllabus and writing your assignments. For an online course, it’s time to build the shell (also called parent in some LMS) for your class. The good news is that a thoughtfully-designed syllabus makes that much easier. In fact, if you don’t have the decisions about your syllabus made yet, I recommend that you don’t start building your shell. At minimum, make sure that you have the number, theme, and learning objectives of every unit selected before you begin.
When building an online-by-design-class, I recommend that you build by level rather than by unit. That is, rather than building unit 1 start to finish, do all level 1, then level 2, then level 3 work. (I’ll explain what these levels are in a moment.) This will help ensure that the work of each unit is comparable, which helps students with time management.
Level 1: Create a Unit (called a Module in Canvas) Folder for each unit. You can set the dates for the whole thing to open and close to students. I typically open one Unit Folder at a time (except over fall and spring break, so students can work ahead a bit if they like), but I never close a Unit Folder (so students can return to previous material to review it). If you open (and, if you wish, close) Unit Folders, then everything in the Unit Folder is only available to students during that time. This means that you don’t have to open and close individual assignments–which will get to be a real pain when you want to use the materials again in a future semester. In cases of quizzes, I do set a closing date so that students cannot take them after the deadline, but I leave all other material available once it opens.

Above, in Blackboard, you can name your units of modules in the lefthand menu. Currently, in Canvas, you cannot name them there.
Level 2: Within each Unit Folder, add a document that states the unit’s thesis and learning objectives. You already decided these when you framed your course, so just cut and paste from the syllabus.
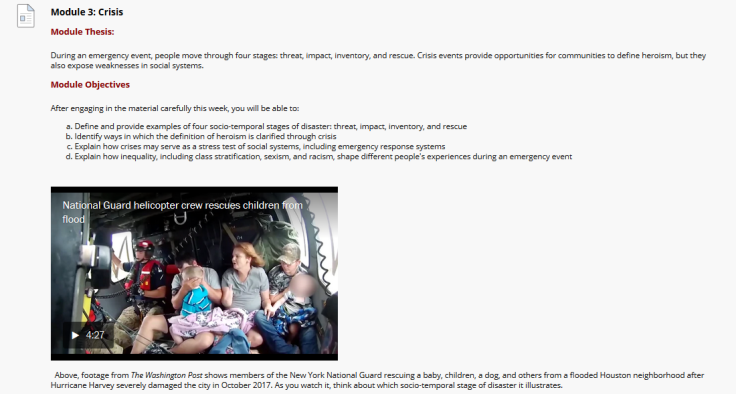
Above, the first document in my Module 3 folder. I include the thesis and learning objectives for the module, as well as an illustration that helps get them thinking about the topic before they delve into the question. This isn’t necessary, but I like it because it adds a visual, offers a preview of the material, and reminds them that they already bring content knowledge to the conversation.
Repeat this for each Unit Folder.
Next, add a Unit Lesson Folder. Eventually, you will put all the required videos and readings in this folder, if they are available digitally, but don’t do that now. Right now, on the front of the folder, create a list of the items that will be in it; if possible, include an estimated time it will take for students to read/view/listen to them.
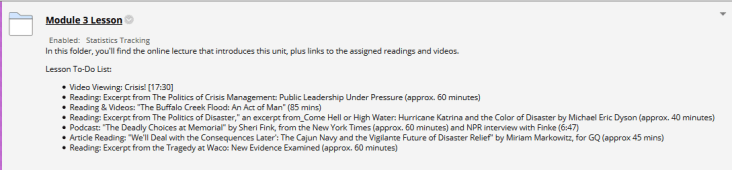
Above, my Module 3 lesson folder gives students the same to-do list as stated in the syllabus. It includes estimated times for all assigned texts.
Repeat for each unit.
Next, add a Unit Activities Folder. Again, you will eventually put the work students must produce in here, but, for now, leave it empty. Instead, now, add their to-do list.

Above, the Activities folder for this unit includes two items: a quiz and a discussion board post (which includes responding to peers).
Again, repeat for each Unit Folder.
Finally, I always add a Help Lounge, a discussion board where students can ask each other questions about the course. I put it in each Unit Folder so they are reminded of it in each unit.

In large classes with quizzes or exams, I also submission spot for students to submit questions about the assignments after they are submitted. (I don’t make this a discussion board, because I don’t want their questions to be visible to peers who haven’t yet taken the quiz or exam.) It helps consolidate questions, and then if there is an error on a quiz or exam, I’m not inundated with emails about it.
*****
Building your course by levels–rather than being doing all the work for each unit–helps you ensure that the week of each work is consistent and that you are including the required elements (like learning objectives) in each unit. It also helps guarantee consistency of style and format, since you are doing them in a single shot.
In the next blog post, I’ll explain how to add your Unit Lessons and Unit Activities.
[give_form id=”7614″]

Leave a Reply